Check it out here:
www.etsy.com/shop/DaydreamBelieverPots
Wednesday, February 3, 2016
Friday, August 14, 2015


Thursday, January 8, 2015


Wednesday, June 11, 2014
How To Stretch Your Own Canvas
Making a canvas stretcher and stretching your own canvas to paint on is super easy and a lot cheaper than buying them! You can make them whatever size you want!
First, you cut down some pine studs and add a bevel edge to make a frame, then glue your frame together, and staple or nail gun the corners together. Depending on the size of the canvas, or how heavy your painting media is, you may want to add support rails across the middle of the frame.
Second, you stretch the fabric around the frame. Put the fabric on your work surface first (I use the floor lol), then lay down the frame, bevel edge down. Staple the fabric to the back of the frame, or to the inside bevel if you're feeling adventurous. There are helpful tutorial videos at the bottom of this post.
Third, smooth those corners down, and staple them.
Fourth, if there are wrinkles in the fabric, spray with warm water and let dry. If there are no wrinkles, you can skip this step.
Fifth, gesso that bad boy! Let it dry, and you're ready to paint!!
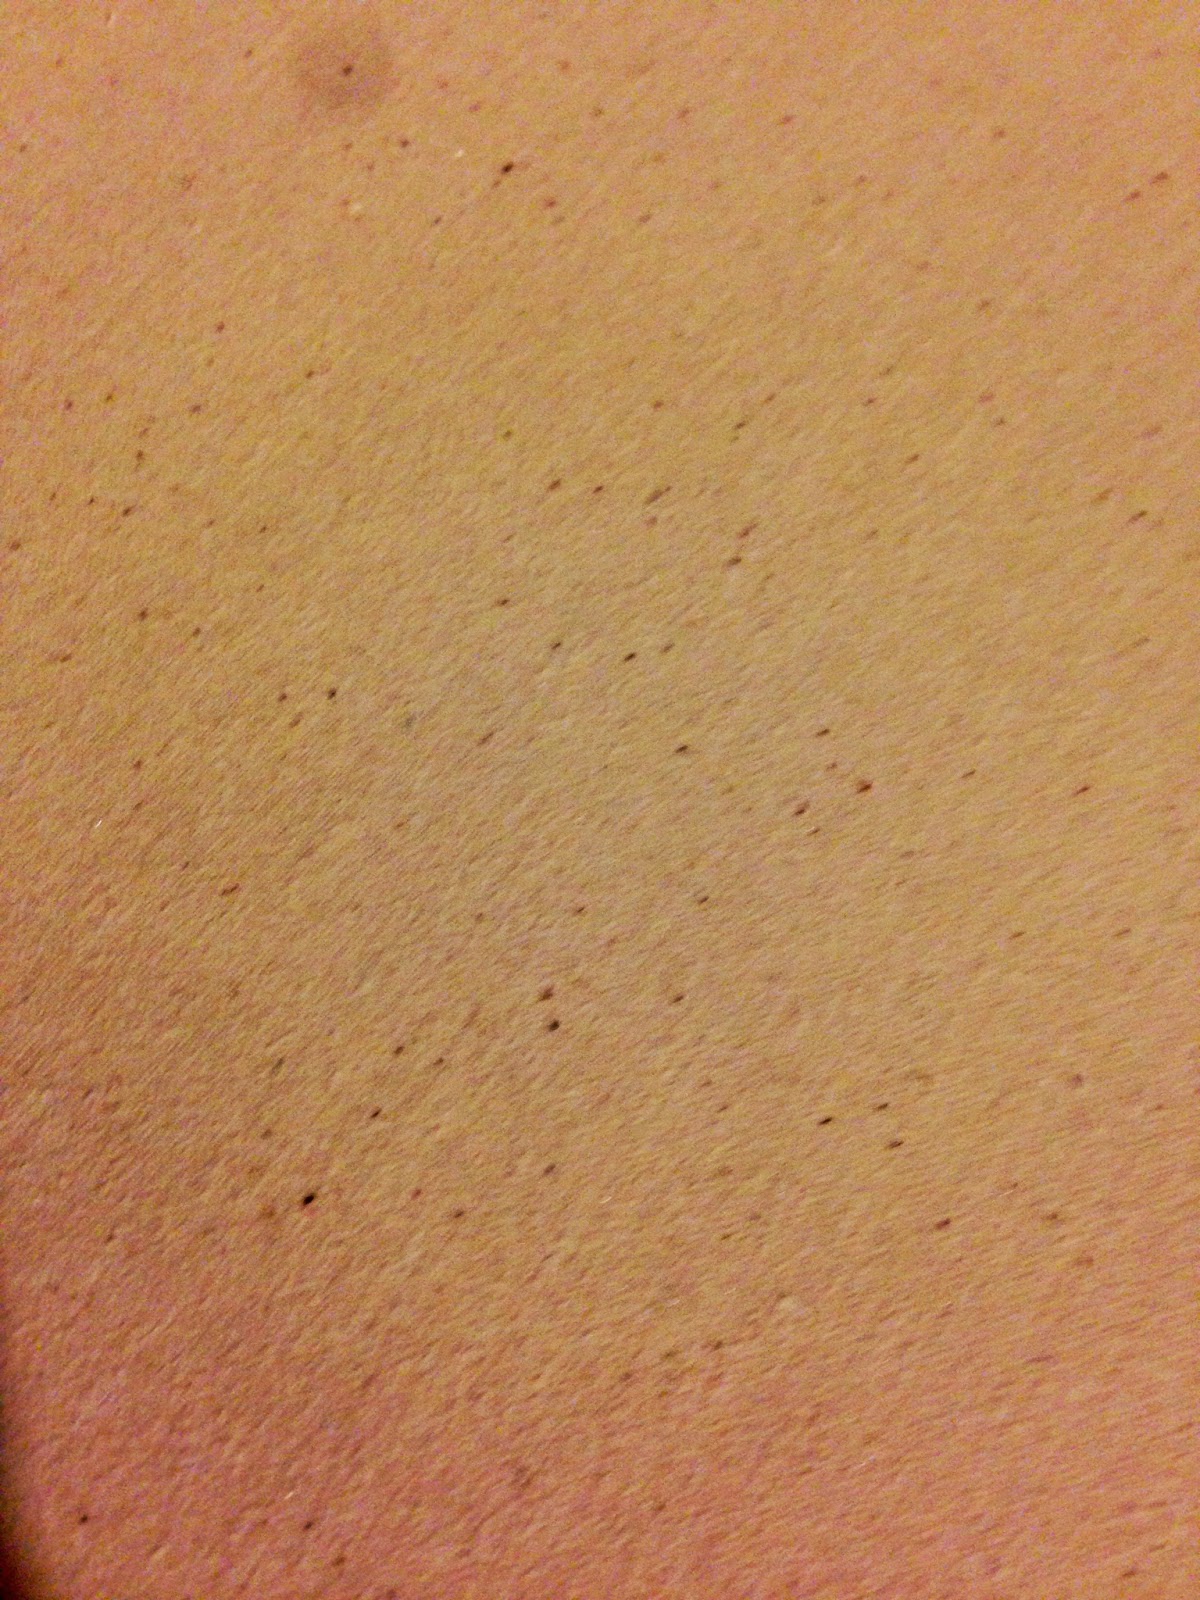
And with a little practice, they will look professionally done, like mine:


This time, I used super-thick muslin fabric instead of canvas and primed with clear gesso. Look at that natural beauty, those tiny speckles! Love it! You can use most any kind of fabric, but most people use canvas, cotton duck or burlap. And for gesso, you can use anything from cheap Kilz primer to the priciest gesso at Hobby Lobby!
Here are a couple tutorial videos on stretching canvas:
And here's one on how to get those pesky corners just right:
Sunday, December 29, 2013
Bisque Firing in my Homemade Raku Kiln
| I made a raku kiln! Hopefully, it'll raku fire better than it bisque fires. It was pretty much a failure, but we will be trying a second raku firing soon. Below are pictures of my supplies and our set up. Video and pictures of our first raku firing to be posted soon :)  |
| This is my raku kiln - a galvanized steel trash can with a peephole cut on top and a hole cut in the side for the flame. |
 |
| It is lined with ceramic fiber insulation and ceramic buttons. |
 |
| I got the trash can from Lowe's, and the fiber blanket from a store in Atlanta, GA, and the buttons from Axner. |
 |
| We laid fiber blanket on cement blocks and sat the upturned trash can on top. |
 |
| Then, we stacked firebricks and a kiln shelf on the fiber blanket. |
 |
| The burner we used is a Venturi MR750 raku burner from Axner. I'll post pics of it and the actual firing process later. |
 |
| This the only pottery that survived. The rest broke. It was terrible. It was hard to regulate the temperature, and the pyrometer I bought was cheap and inaccurate. But hey, no one was hurt in the process, so that's a plus! |

Sunday, June 30, 2013
Sounds Like A Dream
This place sounds amazing!
The Benini Studio and Sculpture Ranch
I wish I could put my work on display there!
Here is their blog!


The Benini Studio and Sculpture Ranch
I wish I could put my work on display there!
Here is their blog!

Sunday, June 23, 2013
Progress....
I wish I could take better photographs of my art. I am just not a photographer by any means. I respect you awesome photographers out there!

Subscribe to:
Comments (Atom)